Find instructions below on how to use the Media Library in the WordPress Dashboard
The Media Library is an extremely useful and important feature for any Wordpress website. This is the easily accessible storage in the backend of the site where Wordpress will keep all of the media (photos, videos, PDF, audio, etc.) that you upload. From here you can add titles and captions, manipulate the dimensions of an image, and well as get a hold of their URL's in order to embed them somewhere in your site. There's also an "edit more details" option when the chosen media file is selected where you can create a permalink! The library can be found in the Media widget on the left side of the Dashboard.
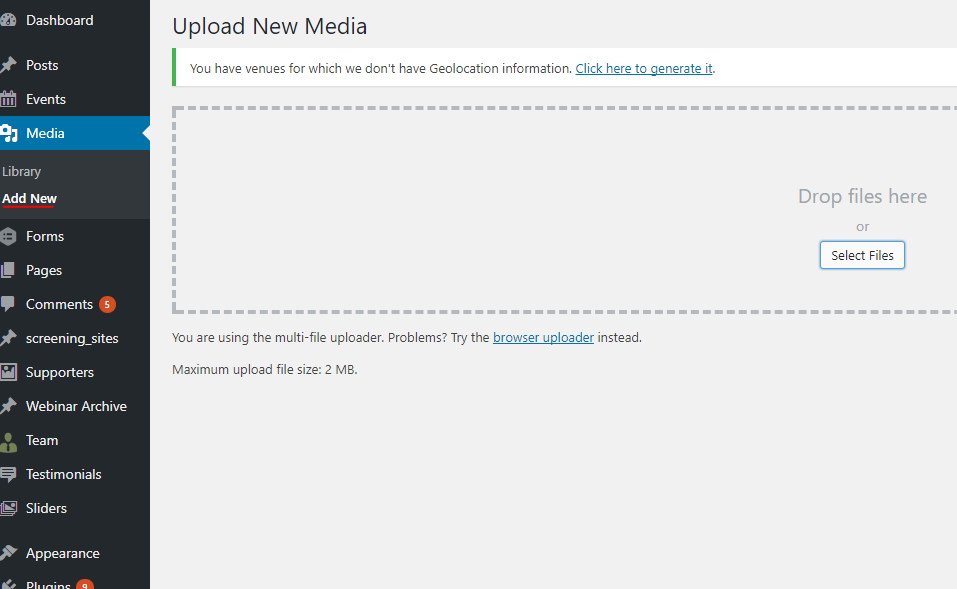
- Adding files to the media library is surprisingly simple! Go to Media>Add New. Drag and drop the file you want to upload to the area labeled "Drop files here", or click "Select Files" and browse for the file on your computer.

- To delete a file from the Library, go to Media Library, click the file you want to delete in order to view the details of the file, and click the Delete Permanently option on the bottom right side of the window.
- Click a file in the Media Library to open its details. Here you can add a title, caption, and description. You can also resize an image or find its URL.
Wordpress does an excellent job of making these types of edits easy to make so even beginners can customize their site to their heart's content. Take advantage!
